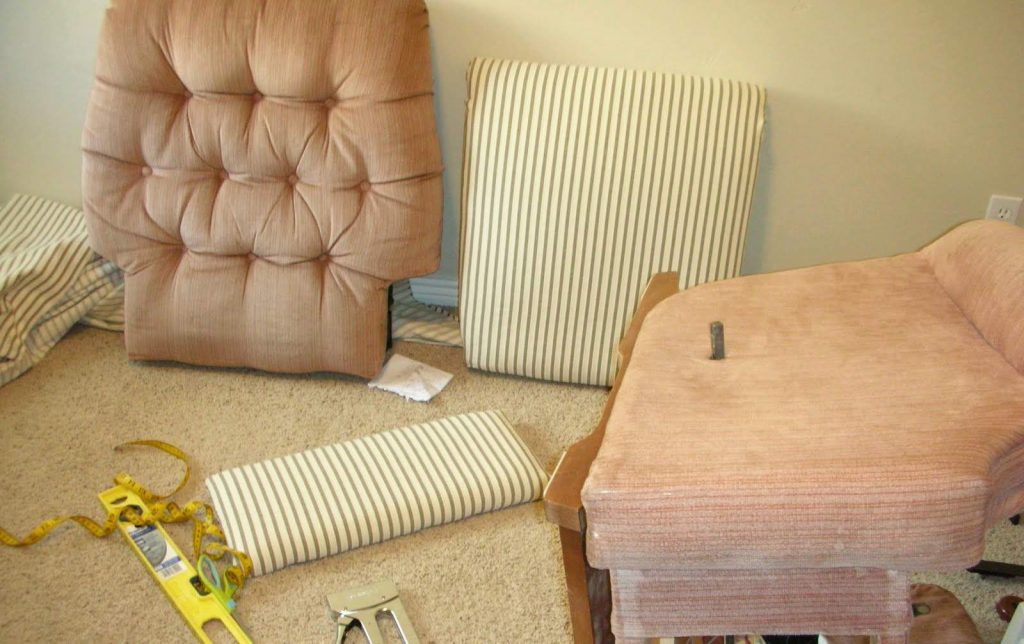
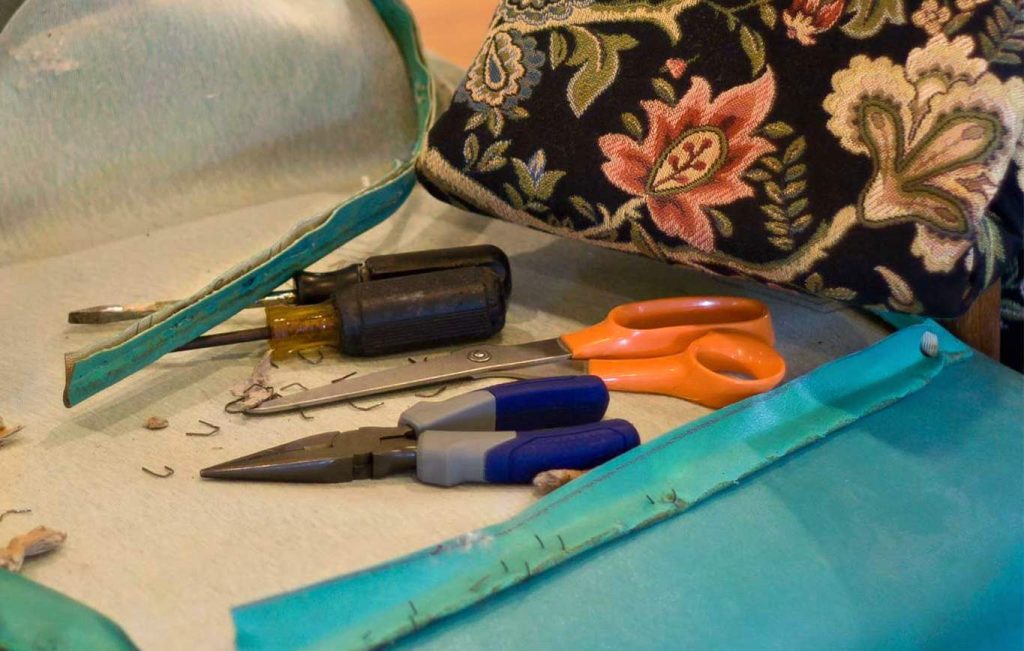
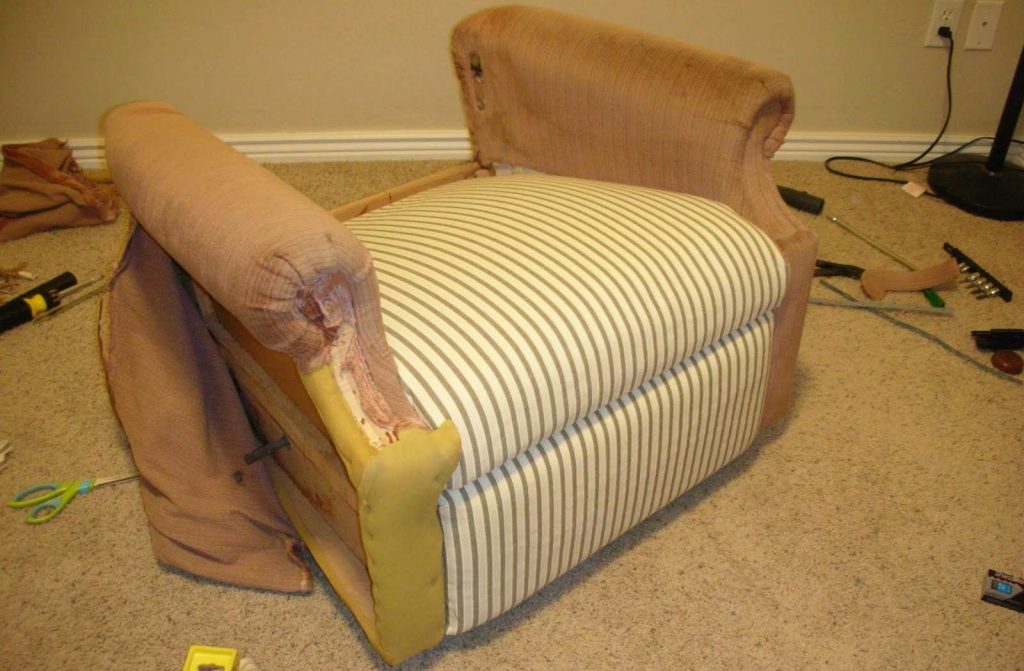
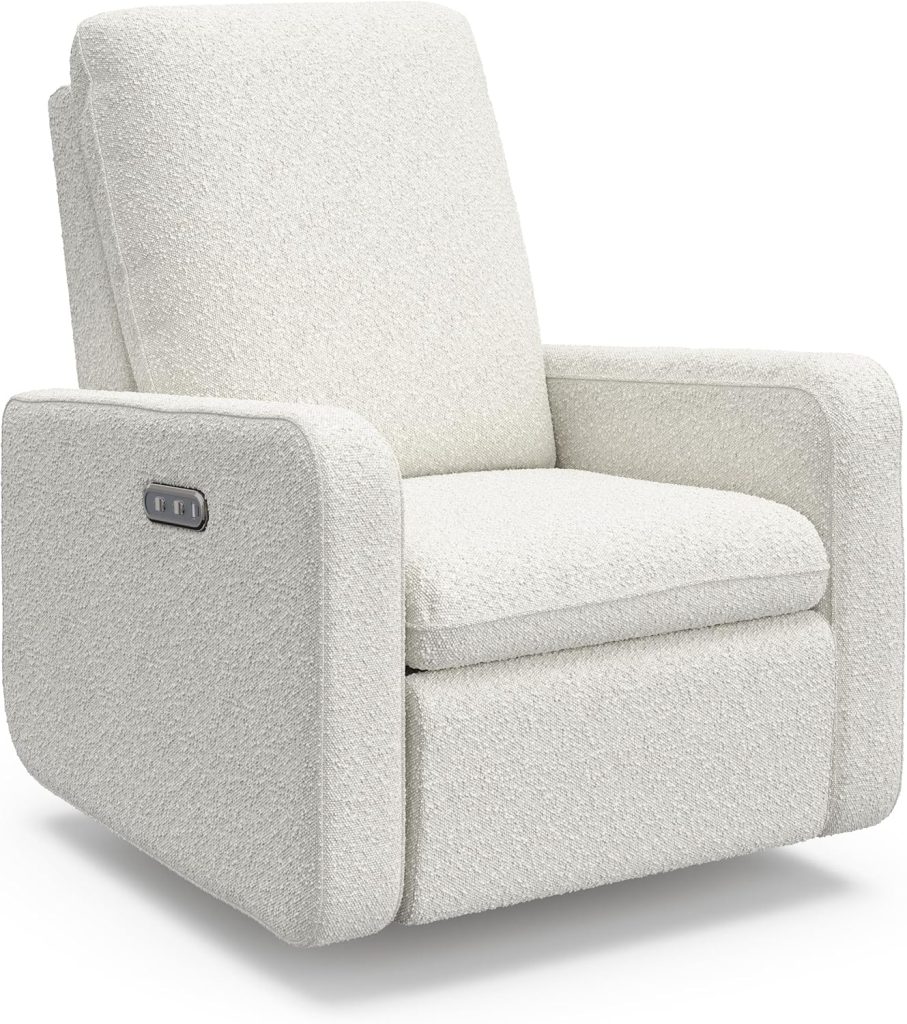
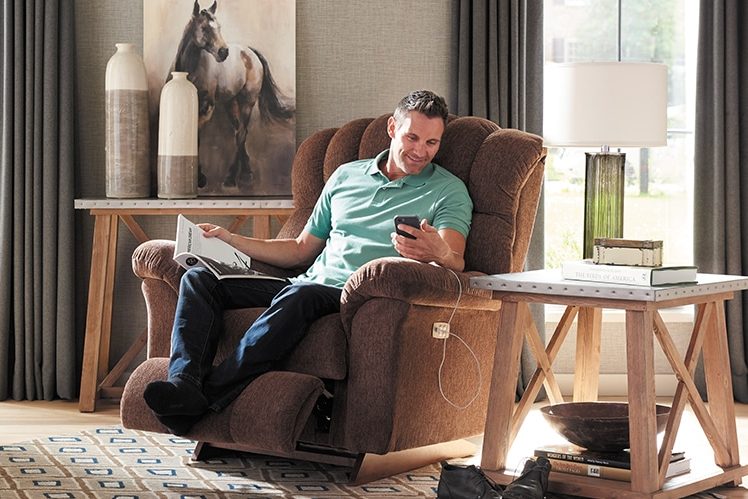
Recliners
Recliners
Research on Recliners
Recliner Types
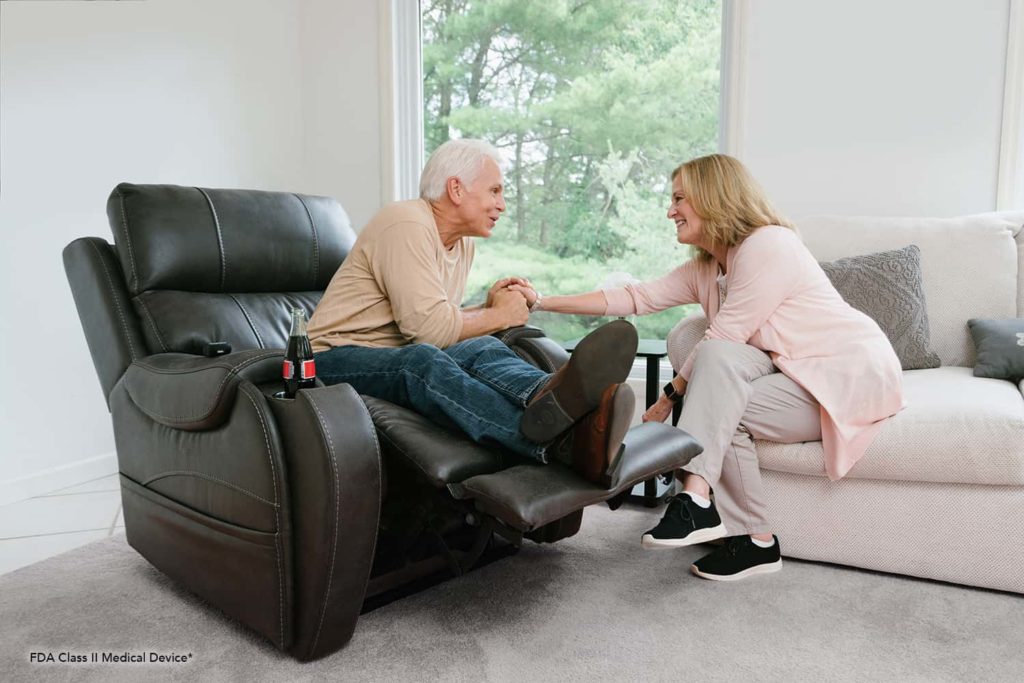
Lift Chairs
Lift Chairs
Research on Lift Chairs
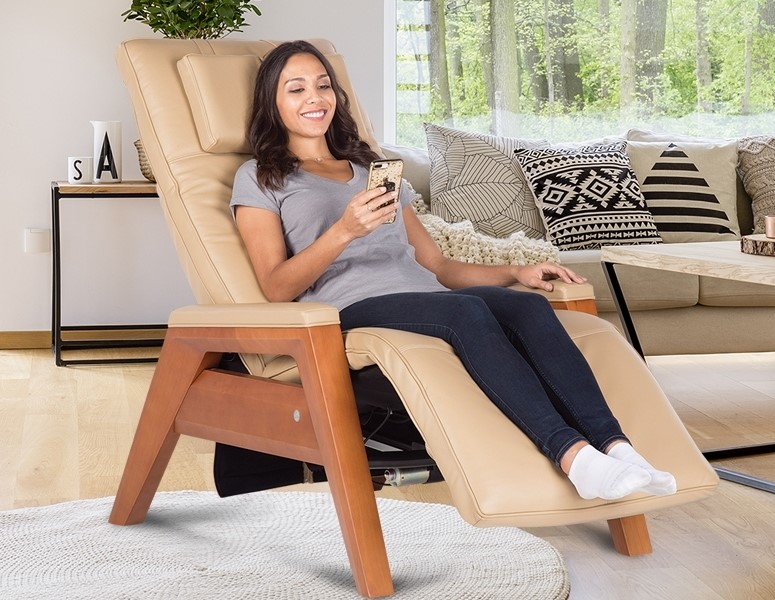
Zero Gravity Chairs
Zero Gravity Chairs
Research on Zero Gravity
Sofas & Couches
Sofas & Couches
Research on Sofas & Couches
About us


"Our goal is to be the center of chairs information and discussion on the Internet."