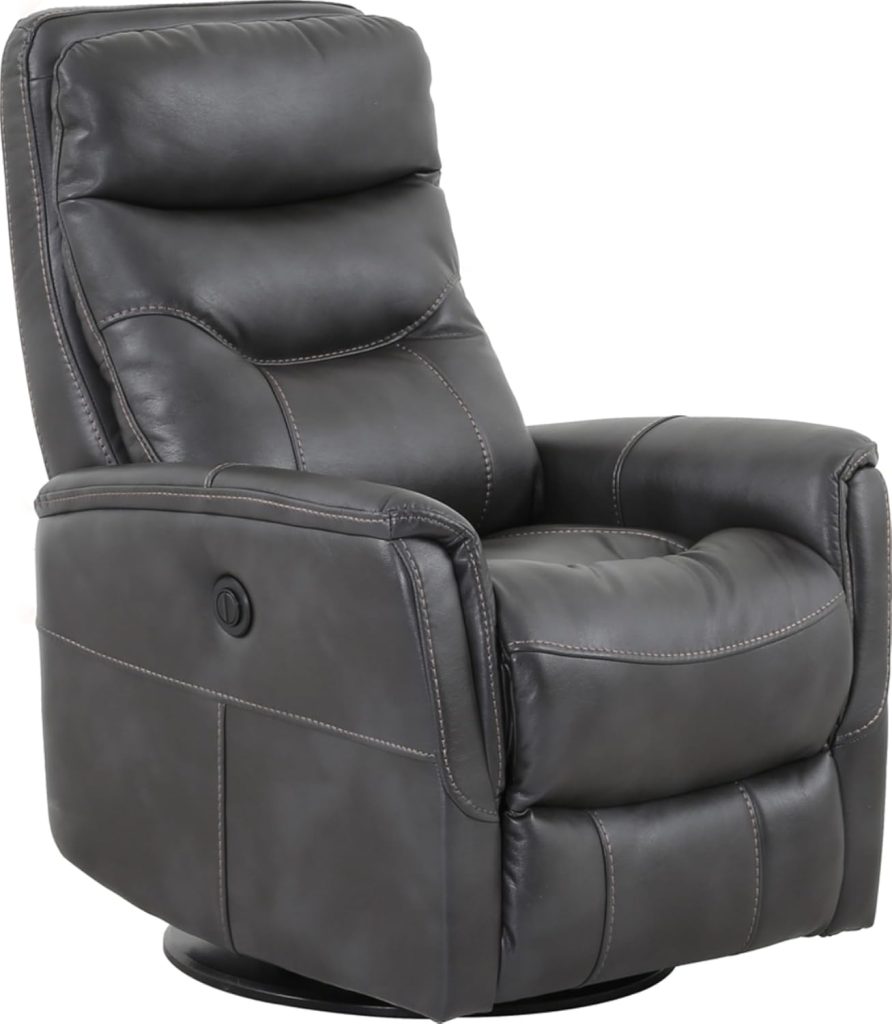
Recliners
Recliners
Research on Recliners
Recliner Types

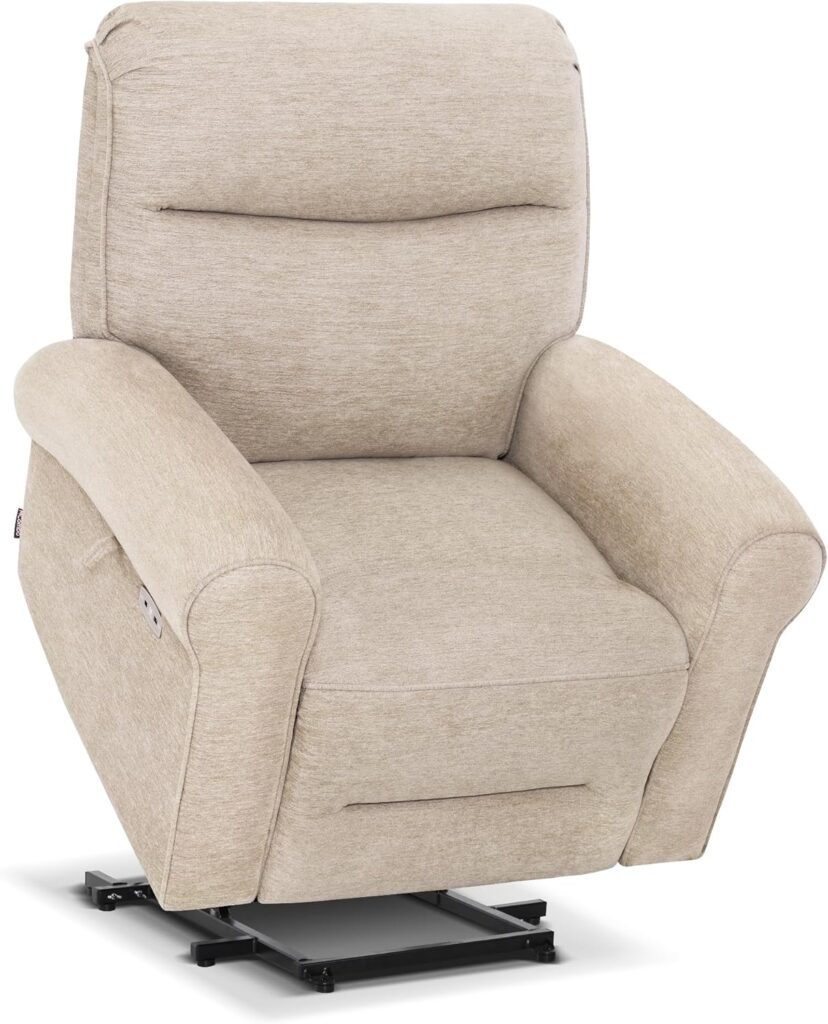
Lift Chairs
Lift Chairs
Research on Lift Chairs

Zero Gravity Chairs
Zero Gravity Chairs
Research on Zero Gravity

Sofas & Couches
Sofas & Couches
Research on Sofas & Couches

About us


"Our goal is to be the center of chairs information and discussion on the Internet."


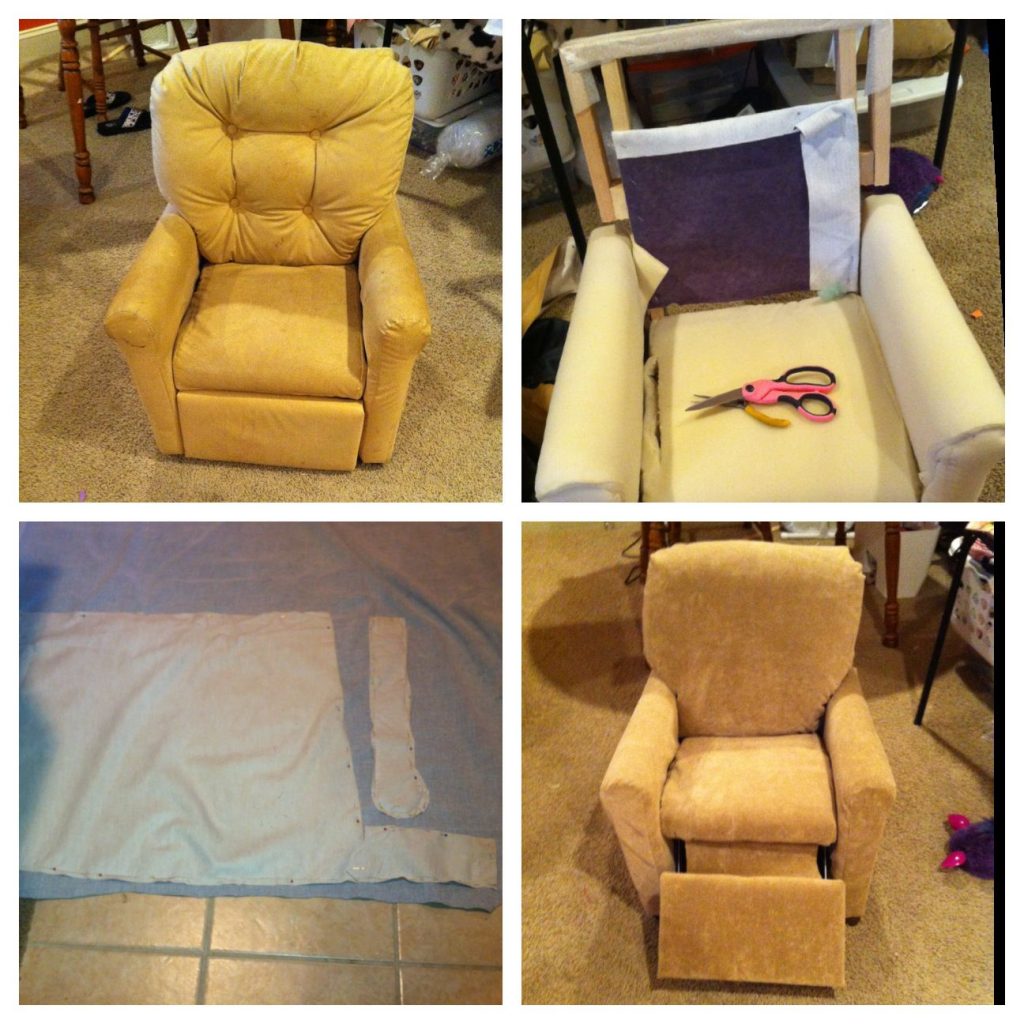
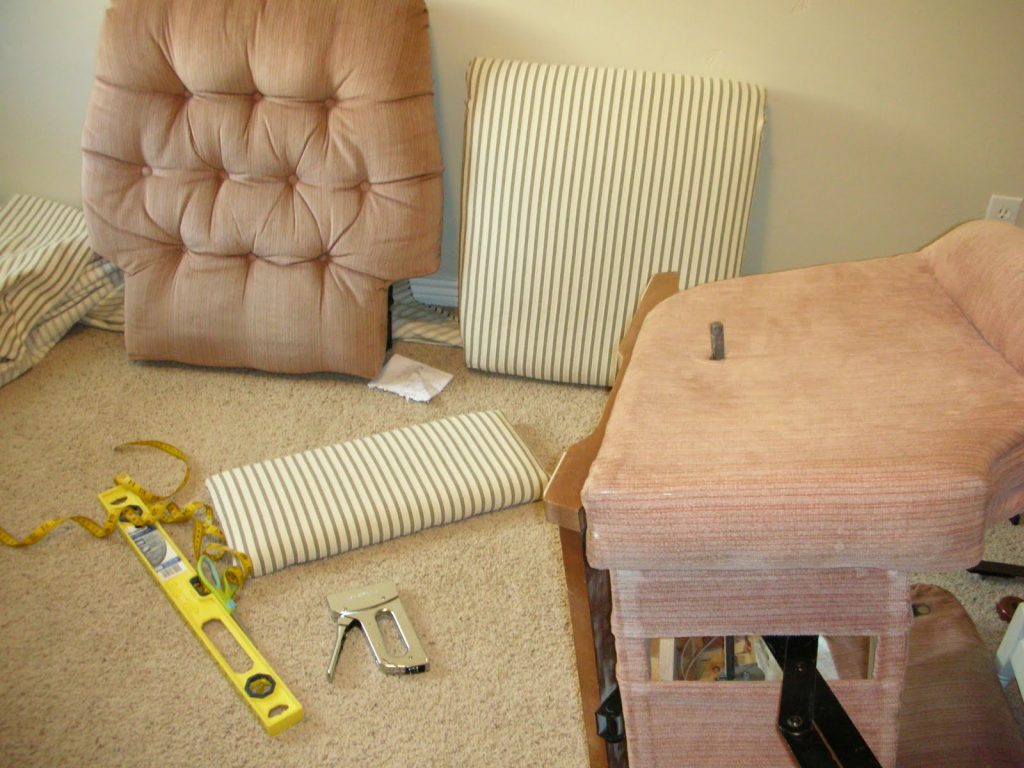 Before you start to reupholster your favorite recliner, there are some tools you will need to make the job doable and easier: